Part 2 Preparing for the Arizona Trail
Navigation, Spreadsheets, Emergency Plans
This part 2 post will cover an assortment of topics that relate to the logistical preparation for my upcoming adventure on the Arizona Trail. I have made lists of resupplies, booked flights, hotel, and terminus shuttle, purchased and created maps for the trail. There are quite a few details I’ve gone over that aren’t completely necessary, but make life on trail easier for me.
Arizona Trail Association membership
Something very helpful for hiking the trail is joining the AZT Association. The yearly cost is $35 and comes with a bunch of perks in addition to supporting the management and maintenance of the trail. With the membership, I have access to printable maps, GPS files, a databook, and a bunch of discounts at shops and hotels along the trail. I even got a metal trail marker in the mail which will be going on the wall in my gear room alongside my Colorado Trail marker and my PCT hang tag.
FarOut app
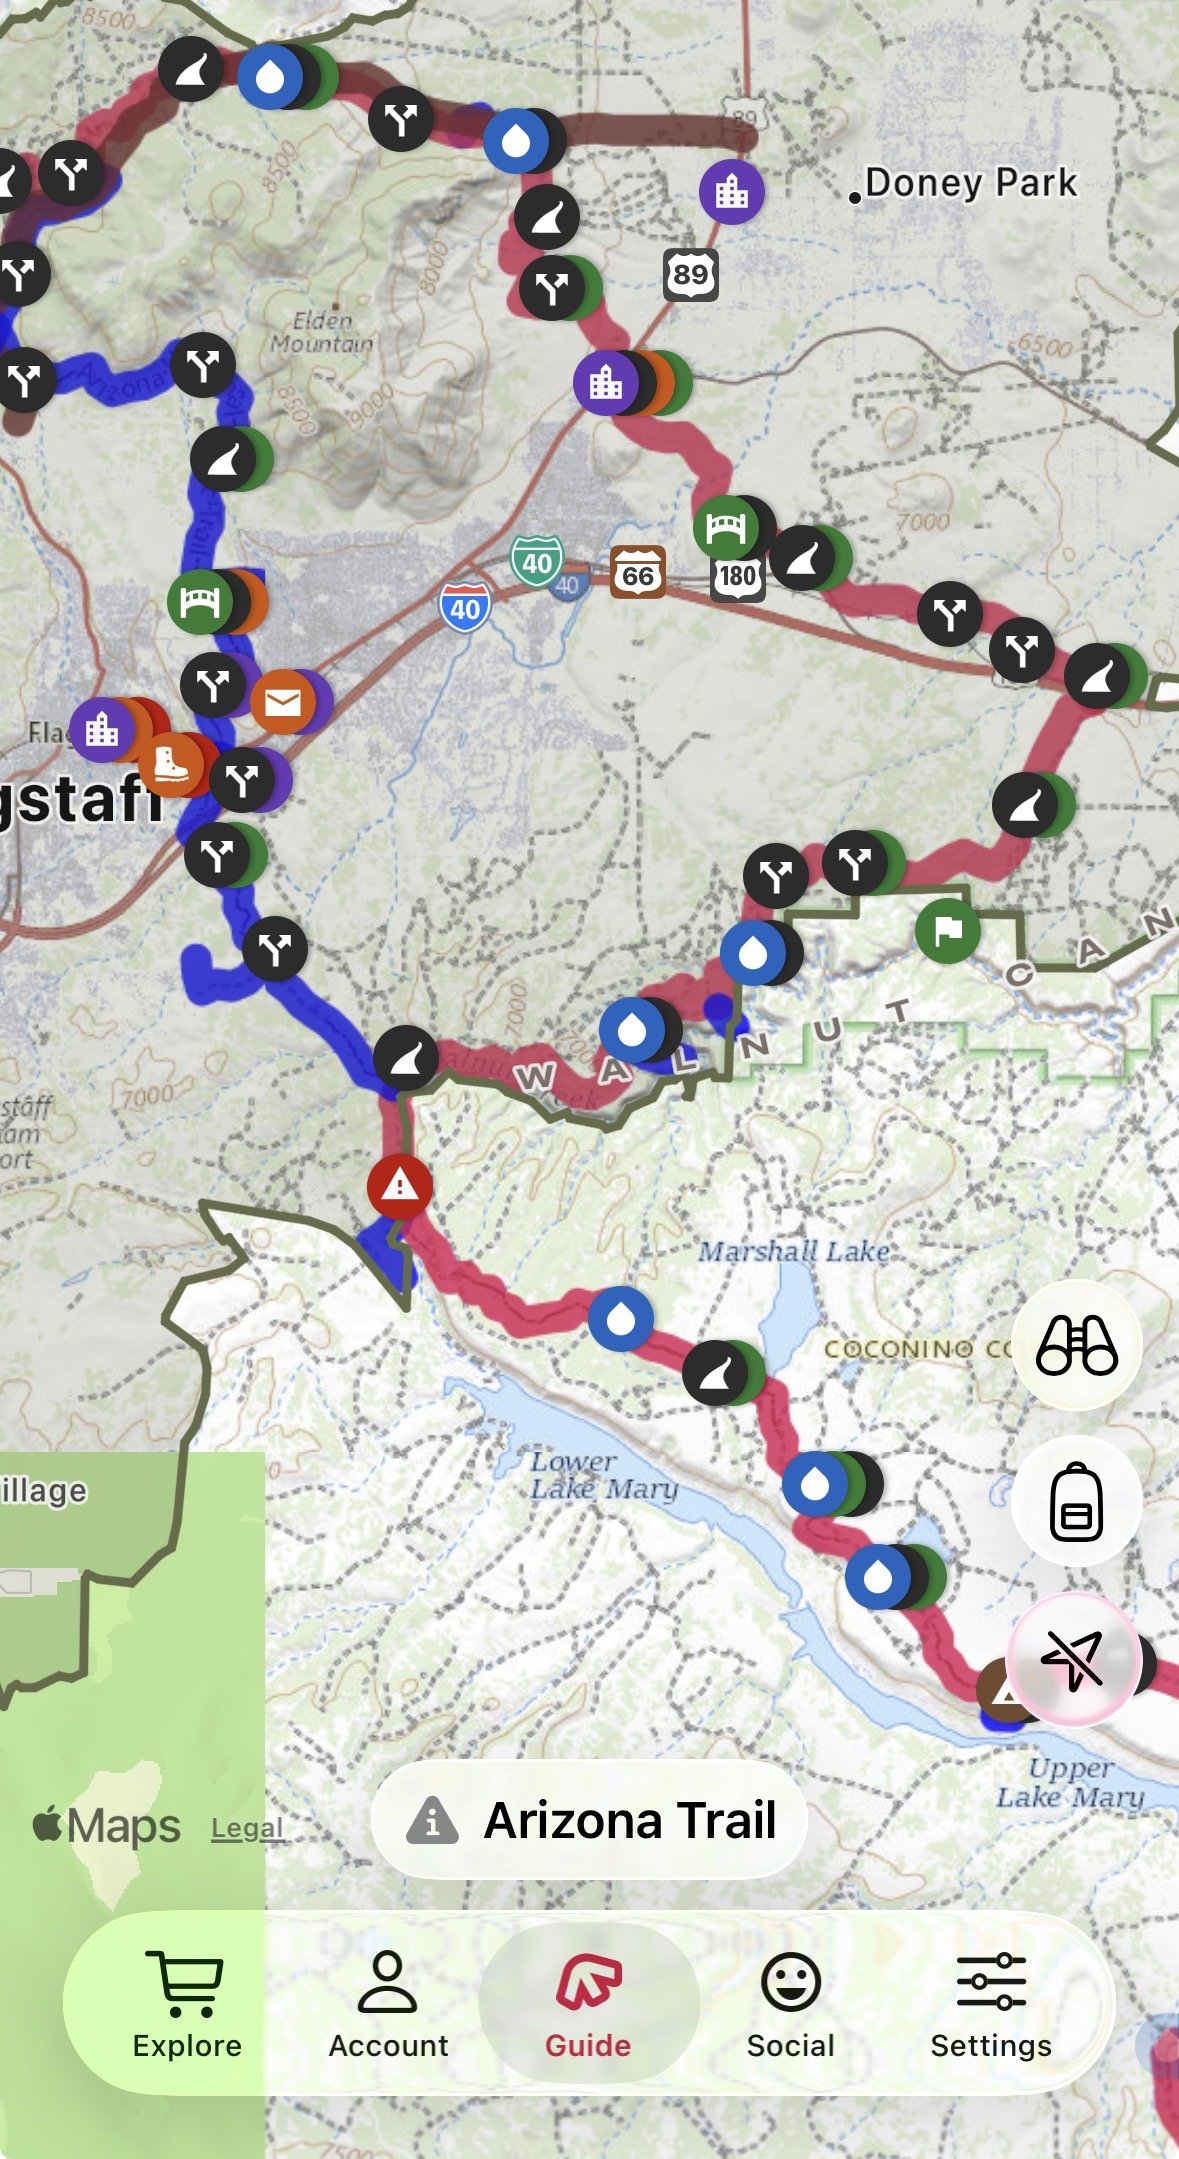
If you don’t want to do any other prep for this trail, purchasing the AZT map in the FarOut app for $25 will cover almost all your needs. FarOut is a navigation app that has so much useful information. This app can be used for navigation; it shows the location of key points of interest to a hiker (I.e. water sources, town amenities, road crossings, camps) in easy to comprehend icons, distances to waypoints from your location, an elevation profile, and allows for comments on each waypoint. This last feature is especially helpful. Hikers use it to help those behind them on trail know what to expect ahead. If the water source is dry, a hiker will leave a comment, if a restaurant in town is especially awesome to hikers, you’ll see that in the comments, if there’s still snow covering a pass, someone will say so. I’ll definitely be using this on trail, especially for information on water. I used the app in my planning as well to look up all the towns along the way and the milage between them.
More Navigation
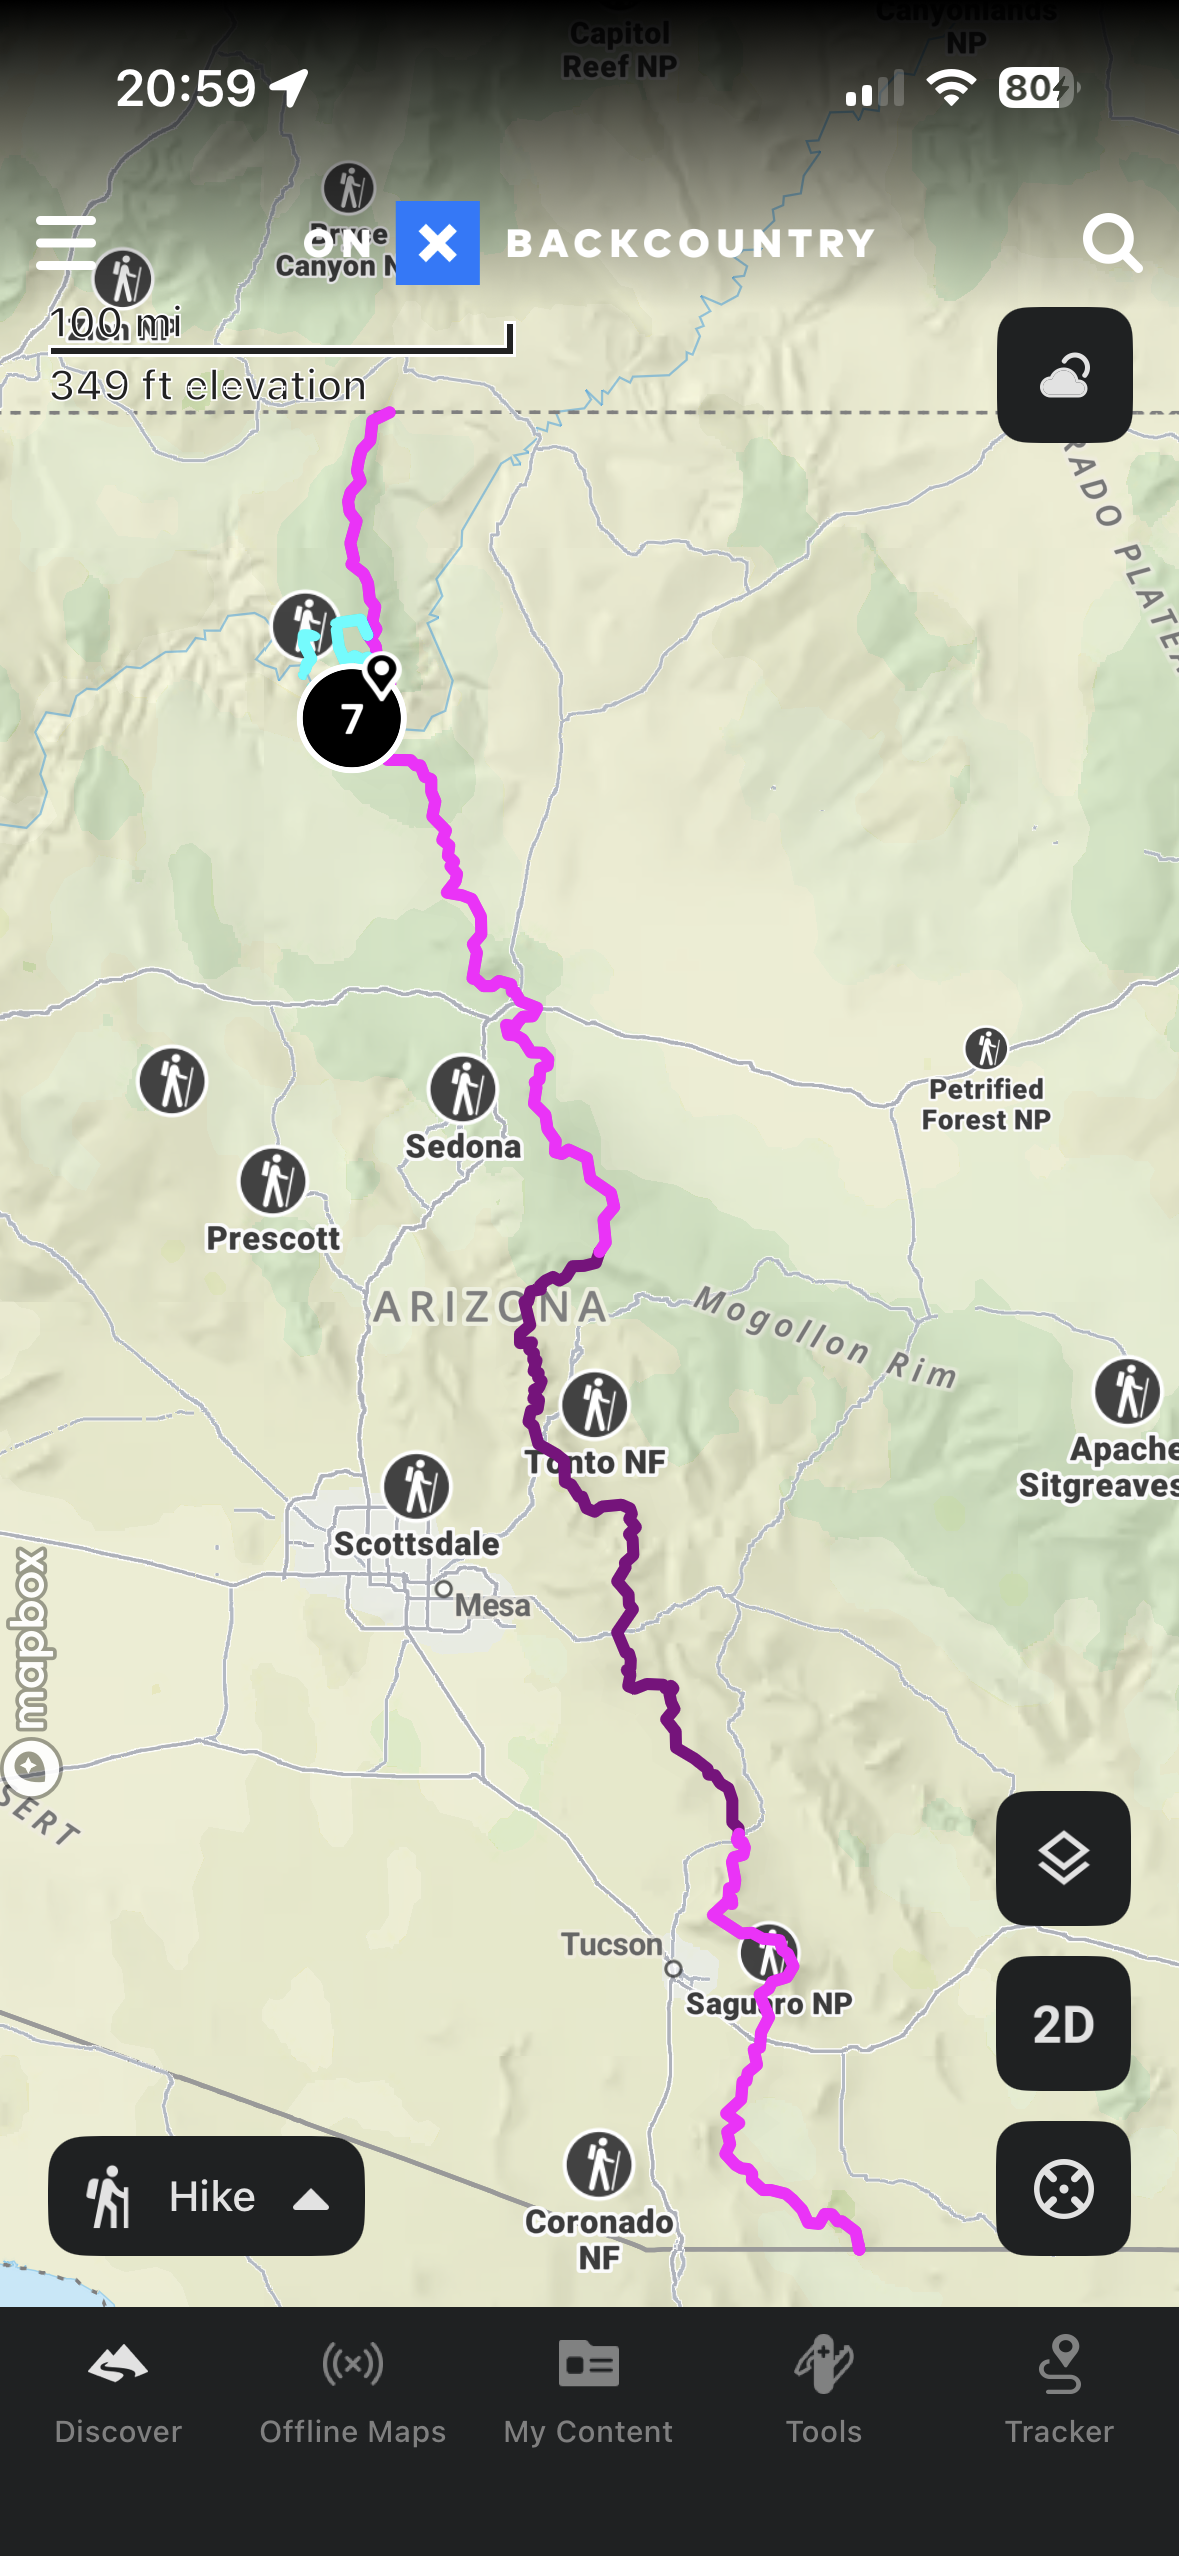
Since I don’t want to solely rely on one app to do everything for me, I will at a minimum have my route on a second navigation app AND have it downloaded for offline use. I usually use OnX backcountry, but Gaia, AllTrails, MapOut, or any other map app will do. Many trails already have GPX files floating around on the internet available for uploading directly into a map app of choice, but sometimes if the trail isn’t overly long, I like to go a step further and create my own. I feel closer to the trail when I’m more involved in their creation. I’ll have more intimate and first hand knowledge of what to expect based on what I see on the map while creating those files. I did do this for the AZT, using it to get more excited for the upcoming hike. While I was at it, I made some files for the possible Grand Canyon routes as well since it’s a lot easier to do this mapping on a desktop computer with large monitors. As a backup to my phone, I’ll also send those files to my Garmin watch. If I get desperate, I can use my watch for navigation. I do also plan to print off and carry the first stretch of paper maps. My experience is that I will rarely use them, but occasionally I like to work on my map and compass skills. The one trail I used paper maps extensively was on the Kungsleden. Paper maps are much easier to get a big picture quickly to formulate a plan for the day, but the FarOut map makes that easier.
My Spreadsheet
To begin much of my planning process, I created a very detailed spreadsheet to track various logistics. This spreadsheet has so much, some may say unnecessary, data. It makes me happy. I created this Google sheet so I could easily have one location for all the trail info in one spot that I am able to use offline. I have a tab for the overview, to do list, resupply, Grand Canyon alternate options, side adventures, packing list, money spent, and on trail tracking. I used a similar spreadsheet on the PCT and it served me well. This next bit where I go over the contents of each tab may have your eyes glazing over while I geek out about my spreadsheet so feel free to skip ahead (unless you also like spreadsheets)!
The Overview tab
On this tab, I have a table with the three trail sections, the mileage, elevation gain, approximate time it will take me to do, and the approximate dates I’ll complete each section. Since this will be my fourth long hike, I have an idea what kind of mileage I can expect to make, so it should be a pretty close guess. This tab, as the name implies, is just a quick look of what I can expect. Under the table, I have a list of important websites hyperlinked that I can open quickly if needed. Lastly on this tab is a screenshot of the various discounts I can get for being an Arizona Trail Association member.
To Do tab
It’s probably obvious based on the name… I use this tab to keep track of items I need to do. It’s a pretty simple page with a list of items, a column for if the task is complete, and any notes, usually website addresses. Some things of the items on my list include permits, hotel, flight, ATA membership, and mail boxes. There’s more on there, but we don’t need to go over every item.
Resupply tab
This is the meat of my spreadsheet, for now anyway. The daily tracker will take over that title by the end of the hike. I use resupply tab to list every feasible resupply along the trail. There’s a photo below so you can get a better idea of what info I put in there. I primarily used FarOut to find which towns [note: town may not always be an actual town and could just be a visitor center gift shop or restaurant or resort along the way] are along the trail and what mile marker I can access the town from. I used Google maps to get the distances off trail; this is where the trail intersects the road and how far along that road until I reach town. I also used a mix between Google maps and FarOut to fill in the amenities I care most about in each town, adding any extra details in my other column. The green and blue on the list are the stops that stood out most to me as places I want to go. Green means I want to resupply there. Blue means I want to stop there, usually for a meal or snacks. I’ll be filling out the approximate date information soon and the actual date when I actually get there.

Grand Canyon Alternate tab
There’s not much in this section other than the list of options I have, how many miles each will be, and about how long it will take me to do them.
Side Quests tab
This is where I keep track of all of the fun side adventures I’d like to do along the way. This could be anything that piques my interest, an alternate route, a cave tour, a mountain to summit. I’ve made a list of places with the trail mile to access that point, how many miles extra it is, and if I’ll miss any official trail miles to do it. If I’m going to be out there, I may as well do what I want when I can. I don’t know the next time I’ll be there.
Packing List tab
I have a surprising amount of things shoved into a 40 liter pack. Most of the items are pretty small so they don’t take up much room, but every little thing I bring matters. When packing for a long trip, it’s important to pack with intention. Sure I can carry that extra sweater, but do I really need it? Won’t the one I already have work since I wont be showering for the next week and really don’t need a clean one? That’s where this packing list comes in handy for me. I list every single item I plan to bring, even lip balm has its own line. I have a column for the item, details about said item, and the weight in ounces. The weight matters. On a multi week or month trip, those extra pounds add up and increase fatigue. I can go farther and faster when I’m carrying less. I’m out there for the hiking more so than the camping. When everything is listed out, I can really see what item might not be worth bringing, especially if it’s going to weigh me down. That isn’t to say I won’t be bringing some luxuries. Romulus, my little squishmallow keychain, will be making this trek with me. I don’t know if it’ll be less odd to talk to him instead of myself, but there you have it.
On Trail Tracking tab
This is my most extensive tab and won’t be filled out until I’m on trail. As the name implies, I use it to track all the events and data along the trail. I have 25 different columns where I’ll enter information. Quantitative data like date, miles, elevation to more subjective data like my mood and journal can all be found in this tab. I’ll use it post hike to make graphs on certain topics that interest me to have a visual representation of my hike through those graphs.
Money Tracking tab
I like to keep track of how much I spend on trail. I find it fascinating to see where I end up spending the most money. Spoiler alert, it’s town food. On the PCT I was pretty diligent about listing every item to see how close I was to my estimate pre trail and see where I fell in the average spent for most hikers. I was pretty close. I guessed $8,600 and spent $9,000 over the 5 months. I’m pretty sure I will be able to scale this down for the AZT and can expect to spend between $2,500 and $3,500 depending on how long I’m out there. My actual guess is $3,200. I can definitely do the hike for less, but I’m not out there to be miserable. I’ll splurge on a hotel room if I’m staying in town and buy lots of tasty meals.
Emergency Plans
There are two questions I almost always get asked when I say I’m going hiking. You’re hiking alone? Are you bringing a gun? I wonder if men get asked these same questions? As a woman hiking alone, the risks are greater. Unfortunately that’s the world we live in and there isn’t actually equality. Women are seen as easier prey, and I don’t mean by bears (men are the predators we worry most about). Because of this, I have to be more wary and conservative on trail than my male counterparts.
Before my first big hike and a while after, I took Krav Maga lessons to learn basic self defense. I usually carry pepper spray which I have been tempted to use on people’s poorly behaved pet dogs more than anything. I’m way more likely to get mauled by someone’s “friendly” off leash dog than a bear. I have been jumped on way more times than is appropriate. The appropriate number is 0 if you’re wondering. I can rant for hours about dog behavior on trail, but that’s not the point of this section so I’ll move on.
Garmin inReach
The biggest safety item I use is my Garmin inReach tracker. I purchased the unlimited texting plan so I can talk to my spouse and family whenever I want. I get unlimited tracking points that show up on a map specific people have access to, so I’ll leave that running and if I’m not moving when I should be, my spouse can reach out to me for a check in or alert the local authorities in the area that a search may be necessary. For each stretch, my spouse and I will have an agreement on what that section will look like and when it’s time to call for help.
The inReach has an SOS feature which I hope to never need, but am glad to have. When activated, the Garmin Response team will respond. I’ll have the option to chat via text with them about my situation and get advice. They will notify the local authorities on my situation as well so they’ll be ready to go if I need them. The local teams will likely also reach out for details and we can work on an evacuation plan together.
Garmin also offers Search and Rescue insurance which I have most definitely purchased. For $40, I’m covered for up to $100,000 in rescue fees. This is something I hope to never need and will gladly spend that money in the chance that I do. There’s a more fine print along with the insurance that is important to know, but for me, it’s worth it to have.
Hitch Hiking
Hitch hiking is the primary method for getting into towns. Luckily a lot of towns are walking distance from the Arizona Trail, so I can limit how often I’ll need to do this. There are a few precautions to take before getting to the road and in a car. I’ll first text my spouse my plans about where I’m headed and I’ll keep my inReach tracking my location. I’ll make sure the most important items are in my fanny pack in case I get separated from my backpack (i.e. wallet, phone, Garmin, pepper spray). I’ll try and find a buddy to hitch with, safety in numbers. I’ve been pretty lucky that I’ve only had to hitch alone twice, once picked up by a former PCT hiker in Truckee, CA and the other picked up by two awesome old ladies in Ashland, OR, both times without even needing to stick out my thumb. I’ll have a plan for if the hitch seems too sketchy and my instincts say don’t go. I’ll have a list of excuses ready like, I left an item behind, or my trail partner just messaged and our plans changed. I try to remind myself, I don’t have to be nice to everyone. Sometimes people mistake being nice as permission to do things they shouldn’t.
I’ve gone over a lot of preparation already, but there are a few more topics to cover. Keep an eye out for part 3!